
How to design without a designer: a six step process
Friday 28 August 2020
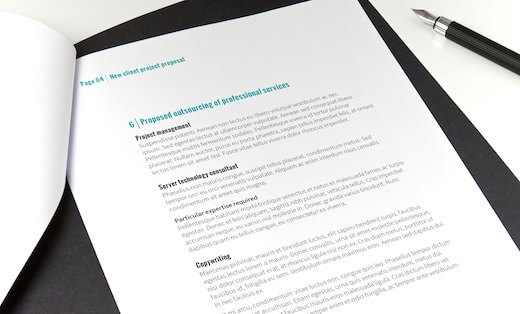
Six steps in the design process, from brief to complete
Friday 28 August 2020
Six steps in the design process, from brief to complete
It isn’t always practical – or desirable – to hire a graphic designer to create every single graphic that you need. A classic example of this is social media, where the demand for graphics is relentless. You could, of course, work with a designer or art-worker on a retainer but if your brand, or the brand you’re working with, has a strong visual identity and an established visual style, it can be just as effective to do the job yourself.
Design is all about visual problem-solving. Once you have a visual identity and style in place, the process becomes one of understanding the output requirements, having a good idea, and applying visual style and order to help you communicate it.
The first step in any design or art-working project is to decide (or understand) what problem it is you are solving – in other words, what are you aiming to achieve? Even in scenarios such as this, designing is never just ‘making a mess look pretty’.
If you’re not familiar with designing, then before you do anything, write down what you want your design to achieve, in one sentence, as objectively as possible.
Find out format information for the item you’re designing. You’ll need to know things like the size, shape, file type, file size, output destination, etc.
If you’re designing a printed item, you can often find artwork guidelines on printers’ web sites. It’s worth noting that while these will often be very similar, different printers do recommend different file settings in order to achieve the best output on their presses, so it’s worth getting this information before you begin.
If you’re designing a social media post then you will find lots of guides on what size your design needs to be online, although you should watch out for out-dated information. Sprout Social maintain a handy Always up-to-date guide to social media image sizes, which is worth book-marking.
In addition to the technical information above, look at the designs the brand has previously produced and, if you’re not already familiar with it, learn their visual ‘language’. Pay particular attention to how they use images, text and colour. For example, they might always place uppercase headlines in their key brand colour, over black and white photos.
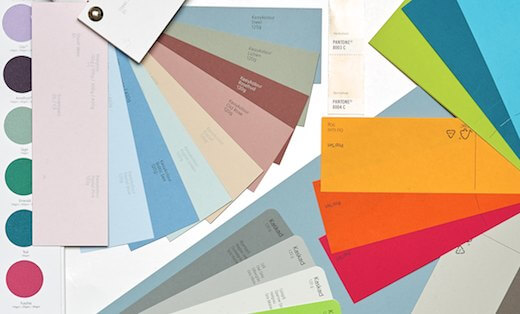
Get together all the components you need for the design. You will need the brand’s branding assets including their logo, colour palette, typeface (including the correct licence to use it), etc. You’ll also need the content.
Design-thinking should begin long before the ‘design’ phase of a project. The concept for whatever you’re designing needs to run through the text and images. If you’re writing the copy yourself, measure its success against the brief you established at the beginning. If you’re working with supplied content, do the same. You can’t create a successful design with content which doesn’t ‘pull’ in the same direction.
Set up a file matching the specification information you gathered earlier. Put all the content (text, images, and logos) you need to accommodate into the document.
Start by making all the text look the same. Use the brand typeface, in one body copy size. Using consistent body copy size and setting is a great way to instantly make something look like part of a visual family with previous materials. So if you can, use the same type size as existing materials of a similar variety. If not, just begin at around 12pt in the brand typeface. Don’t use bold or italic, and remove any formatting such as all caps unless it’s part of the brand name.
At this point, you’ll be able to judge the length of the copy. If there’s too much, shorten it if you can. If you can’t fit everything in at this stage, you won’t fit it all in when it’s finished. Having too much text indicates that the message is either getting lost in a sea of words, or you’ve chosen the wrong format to communicate it.
Once you have the message you need to communicate, and the content you need to do it, use problem-solving techniques to create a design which works.
Problem: the design doesn’t look ‘on brand’ Match the size and placement of the brand’s logo with the way it appears in previous materials. Make sure you’re using the right typeface and applying it in a way that the brand has used before. Look at text-alignment, use of italics, bold, and uppercase. Choose two or three colours from the brand colour palette that will support the content to answer the brief.
Problem: hierarchy of information Re-read the brief, then find the most important bit of information in the content that relates to your objective. It might be the headline, but it could just as easily be the call to action. If you’re working with text that you haven’t written yourself, then it might even be a phrase within the body copy, which you need to pull out. That should be the largest, or the boldest, or the most brightly-coloured part of the design. Make it stand out using a technique that you've seen in previous design examples.
Next, deal with any small-print. That’s information which needs to be there for reasons of regulation, disclosure or completeness, but which isn’t part of the marketing message. Visually, it needs to recede, but it must remain readable. Small-print should be noticeably smaller than the body text – a maximum of two thirds the size.
See how your design measures up against the brief you wrote for yourself, evaluating it in the environment in which your audience will use it. If it’s a printed flyer, print it out and hold it in your hand. If it’s an Instagram post, view it at a small size, on-screen, against your Instagram feed. A poster? Print it out (as close to actual size as you can), and pin in on the wall.
Does the design do what you set out to do? Does the most important piece of information stand out? Does it look like it comes from the brand? Is it fit for purpose? Can you use it in the way you are supposed to be able to? Can you read it comfortably?
If the answers to the above are a resounding ‘yes’ then you’ve finished your design. Otherwise, use problem-solving to address any remaining issues one-by-one. Or call a designer!
Worried your graphics don’t look as good as they could if they were done professionally? Just get in touch.
Related posts
How to use paragraph styles
22 February 2019
Typesetting – the finishing touches
26 February 2016
Seven steps to more professional typesetting
22 May 2015
![]() Recent posts
Recent posts
![]() Featured posts
Featured posts
Briefing a designer
Eight reasons to use freelance creatives
Putting a freelance designer at the heart of your project

Hello! I’m Sarah, an independent typographic designer, helping businesses to communicate their unique selling points through printed marketing and communications.
I’ve been sharing my knowledge about design, typography, marketing, branding and printing since 2014. I hope you enjoy reading my blog.

Sarah Cowan