Thermography
Friday 29 June 2018
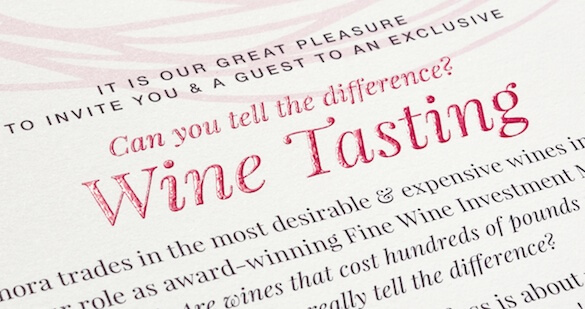
The thermography was applied to selected text elements on the invitations
Friday 29 June 2018
The thermography was applied to selected text elements on the invitations
Fine wine investment experts, Amphora Portfolio Management, commissioned me to design a high-quality invitation to their exclusive wine tasting events. They particularly wanted the invitations to look and feel luxurious and asked me to recommend a suitable special finish which would help communicate the exclusivity of the event.
With a double-sided invitation it is important to choose a finish which will not distort the back of the paper. For this reason, embossing and debossing were rejected as possible solutions. Although it is possible to deboss (pressing the image into the paper from the front so that it is indented) without ‘bruising’ the reverse of the paper, this has to be done with care and is most effective on very thick paper stocks. It is impossible, however, to emboss (pushing the image up from behind the paper so it is raised) without the indent being apparent from the back.
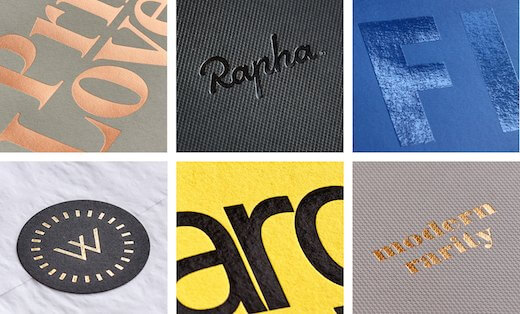
For this project foiling and thermography were the two most suitable possibilities. While foiling would undoubtedly have looked impressive, thermography also provides a tactile, raised finish, and this was the client’s preferred option.
Thermography works by dusting the invitations with thermo powder directly after printing so that the powder sticks to the wet ink. The excess powder is then knocked off, and the invitations are passed through a thermographer which heats the powder until it melts. This creates a shiny finish which is also raised, but without distorting the paper.
In this instance the invitations were printed without the areas which would have the finish applied and allowed to dry completely. The remaining areas were then printed and dusted with powder while still wet. This allowed the finish to be applied to selected pink areas without risking the powder sticking where it was not wanted.
The finish that you achieve with thermography is much like that you would achieve with a high build spot UV varnish. UV varnishes are applied using a screen and then cured by exposure to an ultraviolet light. So why would you use thermography instead?
Spot UV is applied as an extra run after the printing itself. This means it is possible to get registration problems where the varnish isn’t placed exactly over the printed area it is supposed to match. In contrast, thermo powder adheres to the ink itself so it will ‘register’ perfectly with the printing underneath.
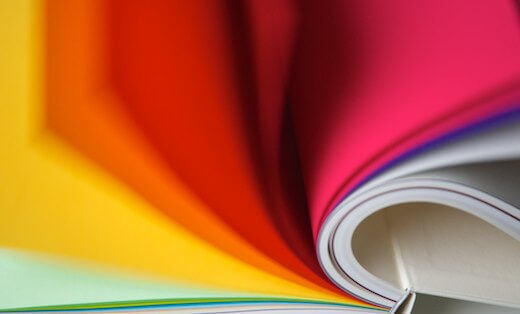
It is possible to use spot UV to achieve the raised effect seen with thermography, but you would need to use a high-build version to do so. This requires larger amounts of the varnish to be applied through a coarser screen, which can cause problems in detailed areas of the design. In addition, spot UV varnishes do not work well on uncoated papers like the Mohawk Superfine, requiring multiple applications to achieve the same effect, and further increasing the risk of registration problems as a result.
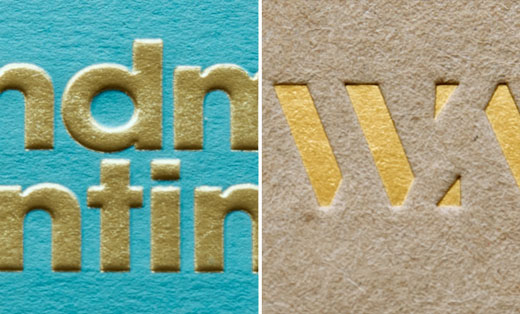
Both techniques have limitations in terms of the degree of detail which can be treated. Very fine elements won’t treat well with either finish, and large areas will look uneven if treated with thermography since the finished surface is not entirely flat.
For advice on how you could add a touch of luxury to your printed marketing materials using special finishes like thermography, please just get in touch.
Related posts
Harnessing the effectiveness of touch
27 October 2017
Embossing & debossing
28 October 2016
Paper finishes demystified
27 November 2015
![]() Recent posts
Recent posts
![]() Featured posts
Featured posts
Briefing a designer
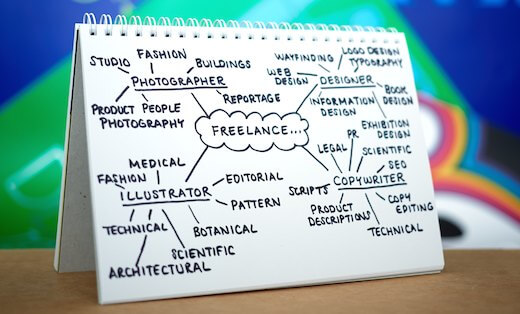
Eight reasons to use freelance creatives
Putting a freelance designer at the heart of your project

Hello! I’m Sarah, an independent typographic designer, helping businesses to communicate their unique selling points through printed marketing and communications.
I’ve been sharing my knowledge about design, typography, marketing, branding and printing since 2014. I hope you enjoy reading my blog.

Sarah Cowan